
Maintenance
The Ultimate 7-Step Spring AC Maintenance Checklist
Updated September 2026
Warmer weather is just around the corner. Use this 7-step checklist to maximize your AC unit's lifespan and efficiency.
The first 95 degree day in San Antonio usually arrives in late April or early May, and every year it produces a wave of no-cooling calls from systems that sat idle all winter. Most of those calls could have been avoided with an hour of attention in March. This is the checklist our technicians run on their own homes, in the order that matters.
1. Replace the filter and set a reminder
Start with a fresh pleated filter. Write the date on the frame. In summer, with the system running most of the day, a 1-inch filter needs replacing every 30 to 60 days; a 4-inch media filter every 4 to 6 months. A clogged filter is the number one cause of frozen coils and the easiest thing on this list to prevent.
2. Clear and rinse the outdoor unit
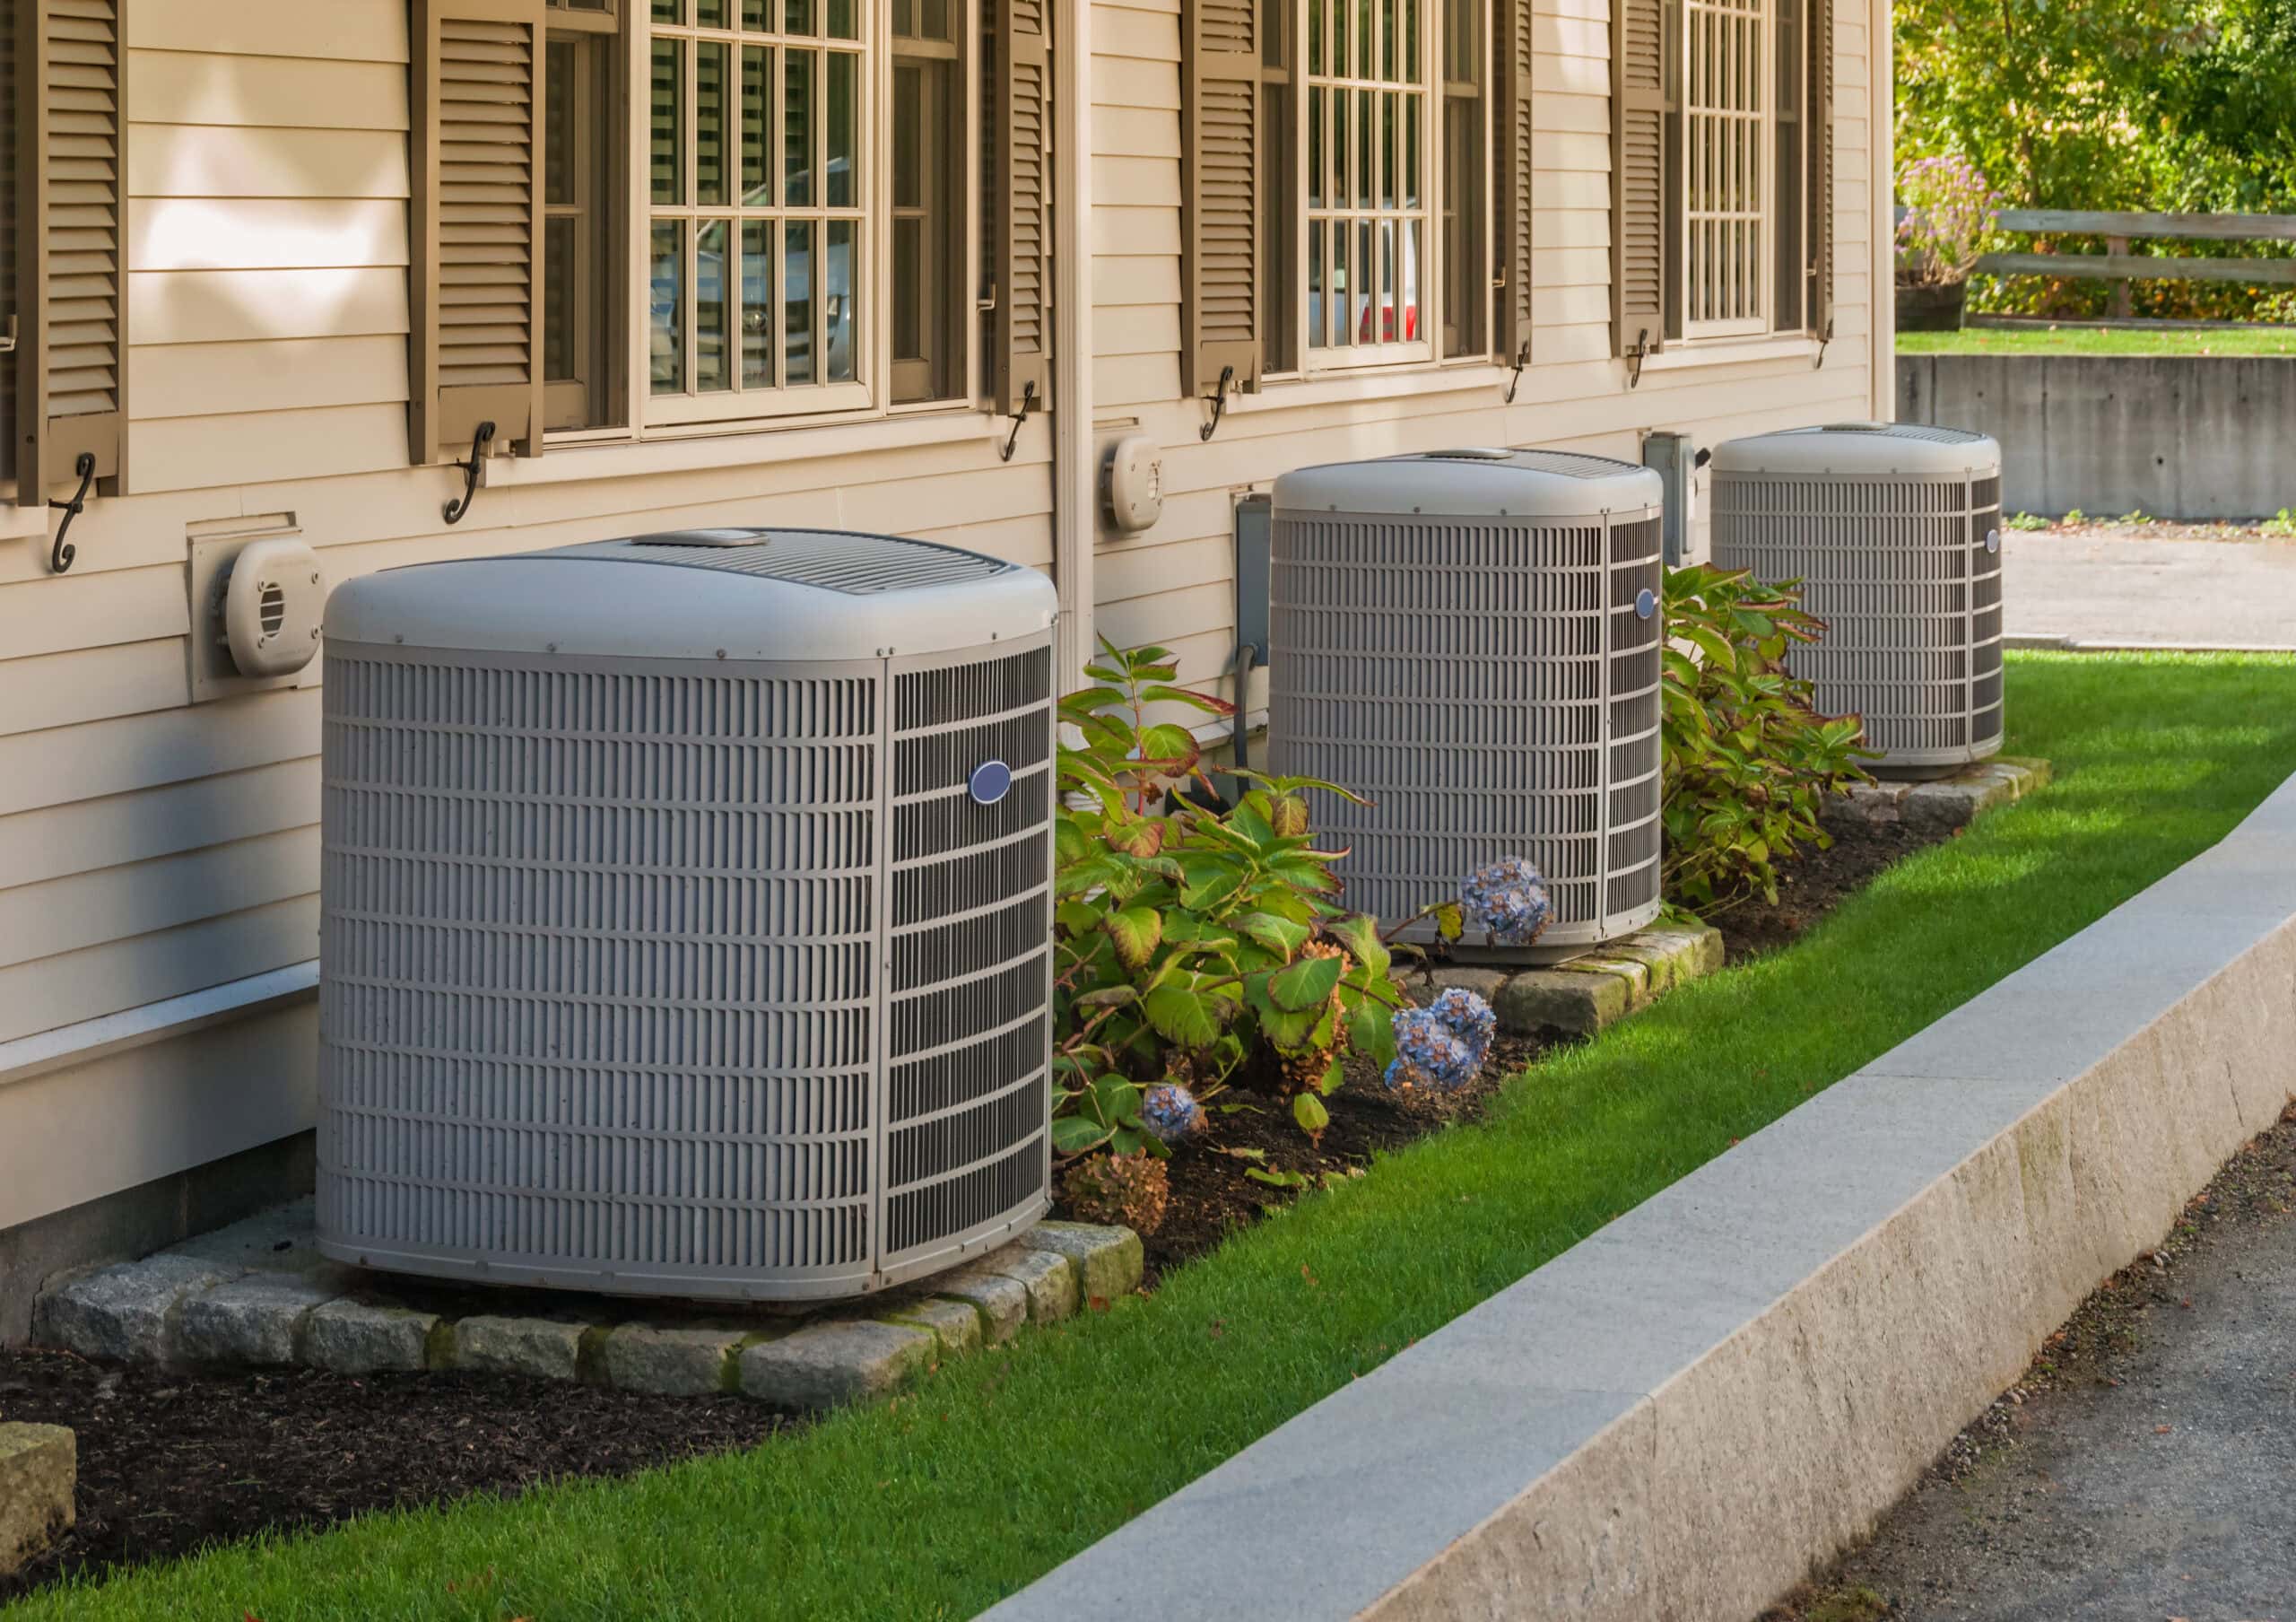
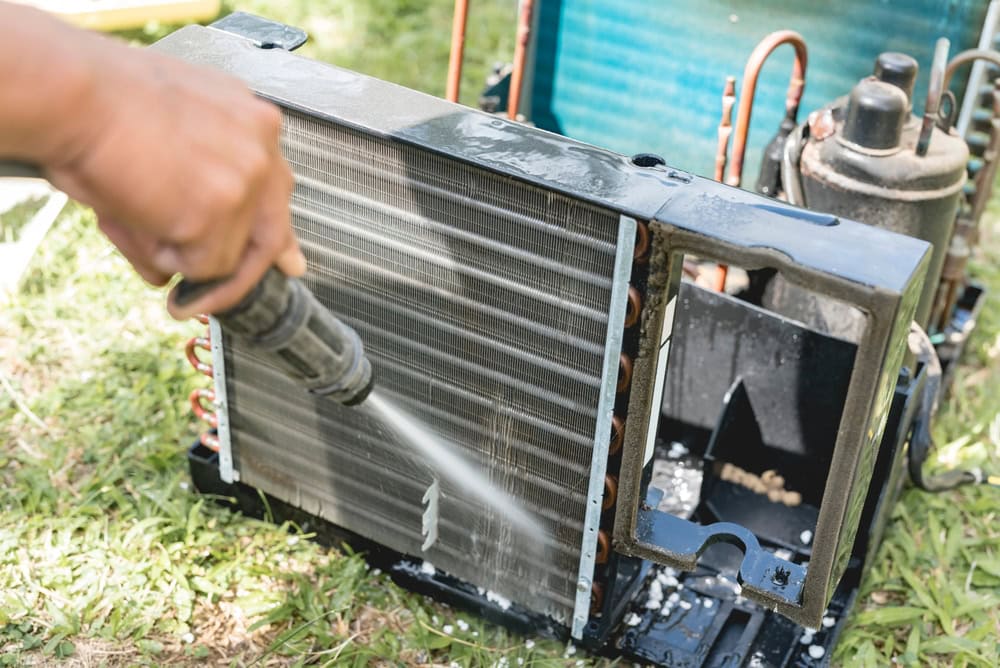
Turn the system off at the breaker. Remove leaves, cedar debris, and grass clippings from around the unit and keep two feet of clearance on every side. Rinse the coil fins gently from the inside out with a garden hose; no pressure washer, which folds the fins. Straighten bent fins with a fin comb if you have one. A clean condenser can improve efficiency by 10 percent or more.
3. Flush the condensate drain line
Find the PVC drain line near the indoor unit. Most have a T-fitting with a cap. Pour a cup of distilled white vinegar down it to kill algae, then follow with warm water. If the line is already slow, a wet-dry vacuum on the outdoor end will pull the clog. Do this in March and again in June; a clogged drain is the most common cause of a mid-summer shutdown and the most common cause of ceiling damage.
4. Check the thermostat
Replace the batteries if it takes them. Confirm the schedule still matches your household's routine. If you are still on a manual thermostat, a programmable or smart model that holds 78 during the day and cools before you get home pays for itself in one summer.
5. Test run and check the split
Set the thermostat five degrees below room temperature and let the system run for 15 minutes. Air at the vents should feel cold, roughly 15 to 20 degrees cooler than the room. Listen at the outdoor unit for grinding, buzzing, or rattling. Check that the outdoor fan spins and the larger copper line is cool and sweating, not frosted.
6. Inspect the attic ductwork and insulation
With a flashlight, look for duct runs that have sagged, separated at joints, or lost their outer insulation. Feel along accessible joints with the system running for air leaks. In a San Antonio attic in July, every leak is pushing 140 degree air toward your coil. Note anything you find for the technician.
7. Schedule the professional tune-up
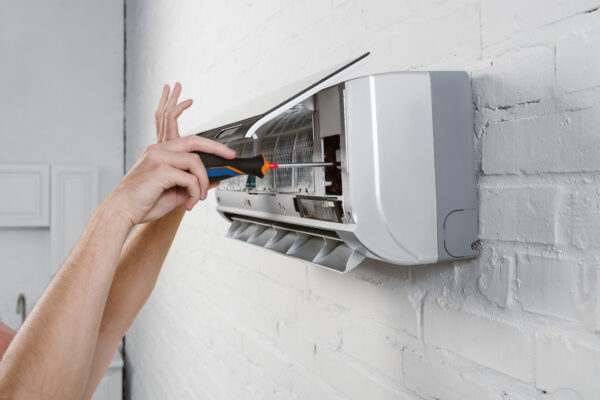
Steps one through six cover what you can see. A professional spring tune-up covers what you cannot: refrigerant charge measured by superheat and subcooling, capacitor and contactor testing, amperage draw on the compressor and motors, blower wheel condition, coil cleaning, static pressure, and safety controls. Our 21-point A/C inspection catches the weak capacitor in March that would have failed in July, and it keeps most manufacturer warranties valid. Book it before the calendar fills up: call 210.549.4839 or join a maintenance plan and we will schedule it for you every year.
If this is happening in your home right now, learn more about our San Antonio HVAC inspection and maintenance service — or call us and we'll take a look.